


Elevate Your Cleaning Game: Burnt-on Residue on Stovetops
Posted on 04/06/2025
Elevate Your Cleaning Game: Burnt-on Residue on Stovetops
Are you tired of scrubbing endlessly at those unsightly, stubborn patches on your stovetop? Burnt-on residue is a common headache for home cooks and culinary enthusiasts alike. Not only does it spoil the look of your kitchen, but it can also impact the efficiency of your burners and pose hygiene risks. Elevating your cleaning routine can turn this dreaded chore into a manageable task, leaving you with a gleaming stovetop and restored kitchen pride. In this comprehensive guide, discover the science behind burnt-on residue, expert cleaning techniques, preventative strategies, and recommendations for safe and effective results.
Understanding Burnt-on Residue: What Causes It?
The residue on stovetops typically results from a combination of spilled food, oil splatters, and high heat. When these substances are repeatedly exposed to heat, they carbonize -- sticking stubbornly to your appliance surface.
- Boil-overs: Soups, pasta water, and sauces are frequent culprits.
- Oil splatter: Frying and sauteing can leave a layer of grease that hardens with heat.
- Sugar and syrup spills: These can caramelize and bake onto surfaces quickly.
- Ineffective cleaning routines: Delaying cleaning allows these residues to become more difficult to remove.
Repeated exposure transforms minor spills into tough, burnt-on grime that regular wiping simply can't tackle. The key to successfully cleaning stovetop residue lies in selecting the right methods and products -- and knowing a few pro tricks.
Why Is It Important to Remove Burnt-on Stovetop Residue?
Leaving burnt-on residue isn't just a cosmetic issue. Neglected stovetops can create several problems:
- Fire Hazard: Build-up can ignite, especially when cooking with open flames.
- Reduced Efficiency: Food or residue can block gas burners or electrical elements, hampering heat distribution.
- Unpleasant Odors: Residue can release foul smells every time the stove heats up.
- Spread of Bacteria: Burnt layers can harbor bacteria, posing health risks.
For these reasons, mastering the art of removing burnt-on stovetop residue is crucial for maintaining a clean, safe, and inviting kitchen space.
Types of Stovetops and Their Cleaning Needs
Before you tackle burnt-on residue, identify your stovetop material. The right approach differs for each type:
Gas Stovetops
- Feature removable burners and grates.
- Residue often collects around burners and on cast iron or steel grates.
Electric Coil Stovetops
- Coils and drip pans can trap burnt-on messes.
- Pans can be removed and soaked for deep cleaning.
Glass or Ceramic Stovetops
- Sleek surfaces show stains and burnt spots easily.
- Require gentle, non-abrasive cleaners to prevent scratches.
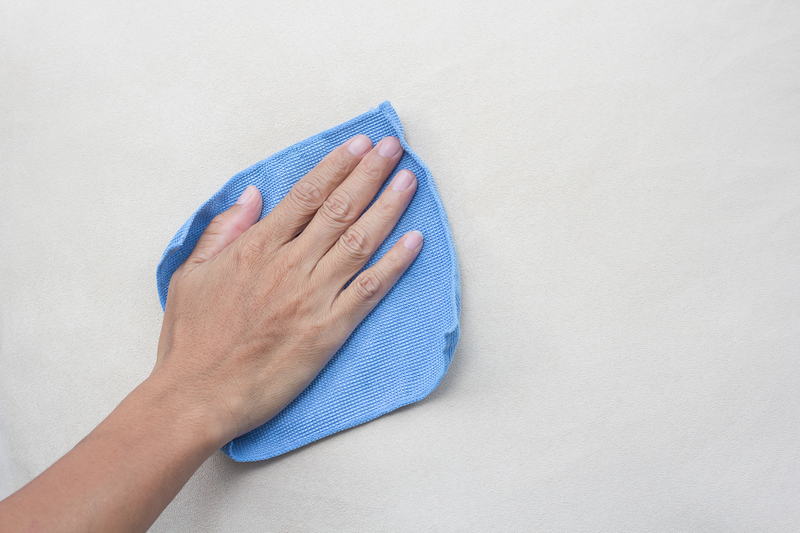
Step-by-Step Guide: Removing Burnt-on Residue from Stovetops
What You'll Need
- Baking soda or cleaning paste
- White vinegar
- Microfiber cloths or non-scratch sponges
- Plastic scraper or old credit card
- Dish soap and warm water
- Optional: Commercial stovetop cleaners (for tough jobs)
- Rubber gloves
1. Prep the Area for Safety
- Turn off burners and make sure the surface is completely cool.
- Remove grates, burners, and other detachable parts.
- Soak detachable items in warm, soapy water while you clean the surface.
2. Wipe Away Loose Debris
- Use a damp microfiber cloth or paper towel to remove loose crumbs, dust, and grease splatters.
3. Apply a Cleaning Solution
- Sprinkle baking soda liberally over the burnt-on spots.
- Spray or carefully pour a small amount of white vinegar over the baking soda, allowing it to fizz and break down grime.
- Let it sit for 10-15 minutes to soften residue.
4. Scrub Gently but Firmly
- Use a non-scratch sponge or microfiber pad to scrub the surface in a circular motion.
- For glass or ceramic stovetops, use a dedicated glass scraper at a 45-degree angle to lift burnt patches (never use metal blades).
- For stubborn spots, reapply baking soda and repeat the process.
5. Rinse and Polish
- Wipe the area with a clean, damp cloth.
- Buff for a streak-free shine with a dry microfiber cloth.
6. Tackle Removable Parts
- Scrub burners, grates, or drip pans after soaking to remove residual grime.
- Use a paste of baking soda and water for persistent spots.
- Rinse and dry thoroughly before reassembling your stovetop.
7. Final Inspection
- Check for any remaining burnt-on residue.
- Repeat spot treatments as needed for a flawless finish.
Alternative Cleaning Solutions for Tough Burnt-on Stovetop Residue
Sometimes, DIY methods are not enough for especially tenacious grime. Here are advanced options for removing burnt-on food and stains:
- Commercial stovetop degreasers: Formulated to break down tough residue. Follow instructions carefully and test on a small area first.
- Magic erasers: Great for ceramic and glass, but always test for abrasion.
- Lemon juice: The citric acid can help dissolve burnt sugar and sticky buildup.
- Razor blades: Only for glass stovetops and with proper technique to avoid scratches--use at a shallow angle.
Pro Tips: How to Prevent Burnt-on Residue on Stovetops
Once you've restored your stovetop to its original shine, use these strategies to prevent future burnt-on messes:
- Wipe up spills immediately: Quick action prevents carbonization.
- Use splatter guards: Especially when frying or simmering sauces.
- Routinely clean after each use: Light daily cleaning is easier than deep scrubbing later.
- Line drip pans: Use aluminum foil or stove liners for easy removal of buildup.
- Monitor cooking temperatures: Reducing heat can minimize spillovers and splatters.
Common Mistakes in Cleaning Stovetop Residue (And How to Avoid Them)
Many people struggle with burnt-on residue not because of negligence, but due to incorrect cleaning techniques. Avoid these pitfalls for optimal results:
- Using metal scouring pads: These can scratch stovetop surfaces and make future cleaning harder.
- Ignoring manufacturer instructions: Always refer to the appliance manual, especially for glass tops.
- Not letting the cleaning solution sit: Immediate scrubbing is less effective. Give solutions time to work.
- Overusing abrasive cleaners: Abrasives can dull finishes and degrade seals.
Frequently Asked Questions About Burnt-on Residue on Stovetops
How often should I deep clean my stovetop?
You should deep clean your stovetop at least once a week, or more frequently if you cook often or notice buildup forming.
Are natural cleaning solutions effective for burnt-on residue?
Yes, baking soda, vinegar, and lemon juice are non-toxic options that break down burnt stains if given enough time to work.
Can I use oven cleaner on my stovetop?
Oven cleaner is too harsh for most stovetops and may damage finishes. Stick to stovetop-safe cleaners for best results.
What should I do if I scratch my glass stovetop?
Minor scratches are cosmetic, but deeper ones can harbor bacteria. Avoid abrasive tools; always use soft materials. For major scratches, consult your stovetop manufacturer for repair advice.
What is the safest way to remove burnt-on residue from induction cooktops?
Use a soft cloth, a few drops of white vinegar, and a non-abrasive cleaner. Induction cooktops are sensitive, so avoid sharp tools or rough pads.

Product Recommendations: Best Products for Burnt-on Stovetop Residue
- Bar Keepers Friend Cooktop Cleaner - Highly effective for glass and ceramic.
- Weiman Cooktop & Stove Top Cleaner Kit - Comes with a scrubbing pad and scraper.
- Affresh Cooktop Cleaning Wipes - Convenient for daily maintenance.
- Mr. Clean Magic Eraser - For an extra punch against stubborn stains.
- DIY mix: Baking soda, vinegar, and dish soap for a budget-friendly approach.
Conclusion: Transform Your Kitchen with a Sparkling Stovetop
Don't let burnt-on residue become a permanent feature of your cooking space. With the right knowledge and tools, you can enjoy a spotless, hygienic, and beautiful stovetop -- every day! By adopting a regular cleaning routine, using smart techniques, and knowing how to tackle even the toughest stains, you'll elevate your cleaning game to a whole new level.
Remember: The key to a gleaming stove is consistent care and the proper methods. Whether you're dealing with a minor spill or a serious build-up, equipped with these tips and tricks, you're ready to handle any challenge. Happy cleaning!